
Creating poster art is an exciting journey that transforms a simple idea into a visually compelling piece of communication. Whether you’re designing for an event, a brand, or personal expression, poster art combines creativity, storytelling, and technical execution. This step-by-step guide will walk you through the entire process—from your first sketch to the final printed masterpiece.
Step 1: Define Your Concept and Purpose
Before putting pencil to paper, start with a clear purpose. Ask yourself:
- What message am I trying to convey?
- Who is my target audience?
- Where will this poster be displayed?
Having clarity at this stage helps guide every creative decision moving forward. Whether it’s a music event, art exhibition, or promotional campaign, your concept should align with your objective and audience preferences.
Step 2: Research and Gather Inspiration
MN State Fair Artists often draw inspiration from local culture, events, and traditions, while a Minnesota Artist might blend regional identity with modern design techniques to create unique poster visuals.
Research is essential to fuel creativity. Look at existing posters, explore color palettes, typography styles, and layouts. Platforms like Pinterest, Behance, and Dribbble are great for inspiration. Pay attention to:
- Composition and layout
- Font pairings
- Color schemes
- Visual hierarchy
Create a mood board to organize your ideas and references before moving to the sketching phase.
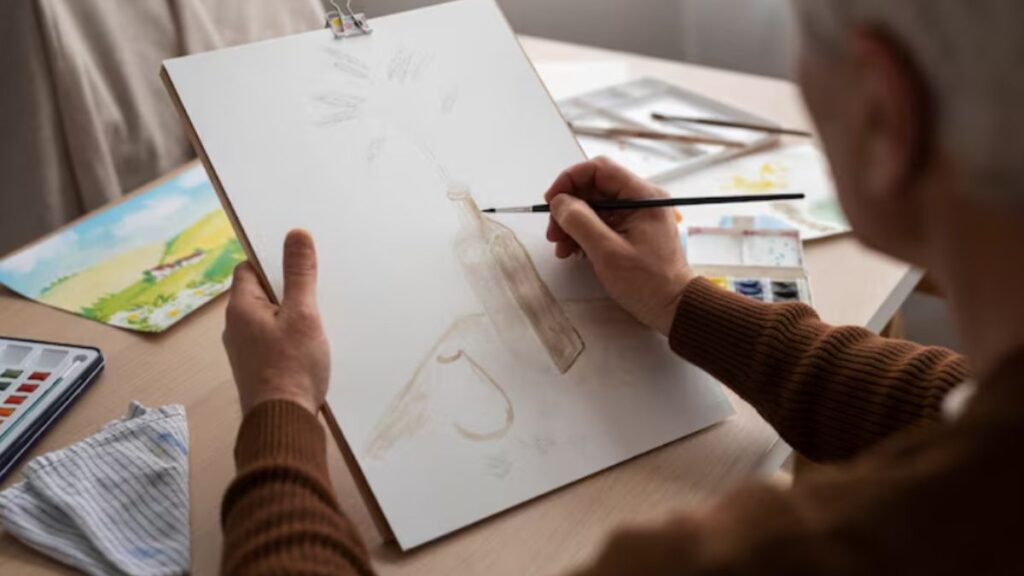
Step 3: Start with Rough Sketches
Now it’s time to bring your ideas to life on paper. Begin with rough sketches—don’t aim for perfection here. Focus on:
- Layout structure
- Placement of text and visuals
- Overall balance
Experiment with multiple variations. Try different alignments, proportions, and compositions. Sketching allows you to quickly visualize ideas and make changes without investing too much time.
Step 4: Choose the Right Typography
Typography plays a crucial role in poster design. It not only communicates the message but also sets the tone. Consider:
- Serif fonts for a classic and elegant feel
- Sans-serif fonts for modern and clean designs
- Display fonts for bold and artistic impact
Limit yourself to 2–3 font styles to maintain consistency. Ensure readability, especially for important details like event dates, locations, or headlines.
Step 5: Select a Color Palette
Colors evoke emotions and influence how your poster is perceived. Choose a palette that aligns with your theme and message:
- Bright colors for energetic and youthful designs
- Muted tones for sophistication and subtlety
- High contrast for better visibility
Use tools like Adobe Color or Colors to generate harmonious color combinations. Stick to a consistent palette throughout your design.
Step 6: Move to Digital Design
Once your sketch is finalized, it’s time to digitize your work. Use design software such as:
- Adobe Illustrator (for vector designs)
- Adobe Photoshop (for detailed and textured work)
- Canva (for beginners and quick designs)
Recreate your sketch digitally while refining details. Pay attention to alignment, spacing, and proportions. Use grids and guides to maintain structure and consistency.
Step 7: Add Visual Elements and Graphics
Enhance your poster with images, illustrations, or textures. Make sure all visual elements:
- Support the main message
- Maintain visual balance
- Do not overcrowd the design
Use high-resolution images and scalable graphics to ensure quality in print. If you’re creating illustrations, keep them consistent in style.
Step 8: Establish Visual Hierarchy
A strong visual hierarchy guides the viewer’s eye across the poster. Organize elements based on importance:
- Headline (most prominent)
- Subheading or key message
- Supporting details (date, time, location)
- Additional information
Use size, color, contrast, and spacing to create emphasis. This ensures your poster is easy to read and visually engaging.
Step 9: Proofread and Get Feedback
Before finalizing your design, review it carefully:
- Check for spelling and grammar errors
- Ensure all information is accurate
- Verify alignment and spacing
It’s also helpful to get feedback from others. A fresh perspective can highlight areas for improvement that you might have missed.
Step 10: Prepare for Print
Printing requires attention to technical details. Follow these guidelines:
- Set the correct dimensions and resolution (300 DPI for print)
- Use CMYK color mode instead of RGB
- Add bleed margins (usually 0.125 inches)
- Export in print-ready formats like PDF
Choose the right paper type and finish:
- Glossy for vibrant colors
- Matte for a subtle and professional look
- Textured paper for artistic appeal
Step 11: Print and Evaluate
Once printed, evaluate your poster:
- Are the colors accurate?
- Is the text readable from a distance?
- Does the overall design match your vision?
If needed, make adjustments and reprint. Printing is often an iterative process, especially for professional-quality results—something even MN State Fair Artists refine through multiple print tests.
Tips for Creating Eye-Catching Poster Art
- Keep it simple and focused
- Use whitespace effectively
- Prioritize readability over decoration
- Stay consistent with design elements
- Always design with your audience in mind
Conclusion
Creating poster art is a rewarding process that blends creativity with strategy. From initial sketches to final prints, each step plays a vital role in crafting a compelling design. By following this structured approach, you can transform your ideas into impactful visual art that captures attention and communicates effectively.
Whether you’re a beginner or an experienced designer, mastering poster creation opens up endless opportunities for artistic expression and professional growth. Start experimenting, stay inspired, and bring your creative visions to life—one poster at a time.